Swimming with Nathan Adrian

If you’re a long time reader of this blog, you’ll know that I have a very love hate relationship with swimming. Every time I get in the pool, I dread it until I finish my first lap and then I love it all over again. I love the challenge of each lap. I love the humility I feel when I can barely breathe after only five minutes. I enjoy the peace and tranquility that I feel in the silence of the pool. But then there is the hate portion of it. I am not a fan of my very unbecoming one piece swimsuit. I’m not a fan of the fact that I haven’t had formal lessons in years and therefore feel that my form leaves something to be desired.

Therefore, when I received an email invite to interview Nathan Adrian, an Olympic gold medalist heartthrob, I was pleased to read the phrase, “interview him from the sidelines of the pool.” But, I also worried that I would show up in work clothes and everyone else would be in their suits, making waves with Nathan.

Therefore, I emailed the team asking for clarification. Their response caused a great amount of anxiety for about 24 hours.

“Ashley, that’s a great idea. We’d love for you two to get in the pool with Nathan and do drills with him during the hour.”

You want me to wear a one piece swimsuit and attempt to follow in this guy’s wake?
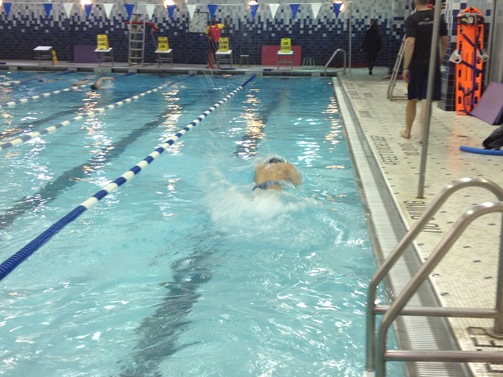
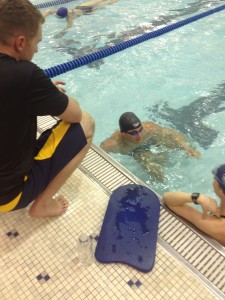
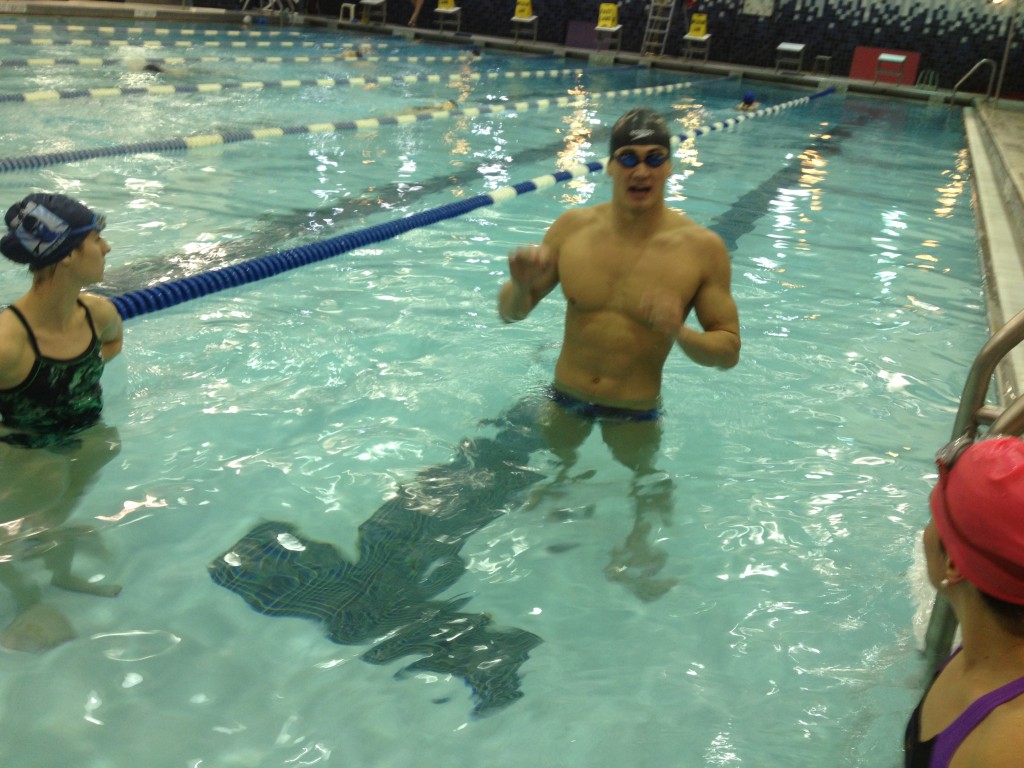
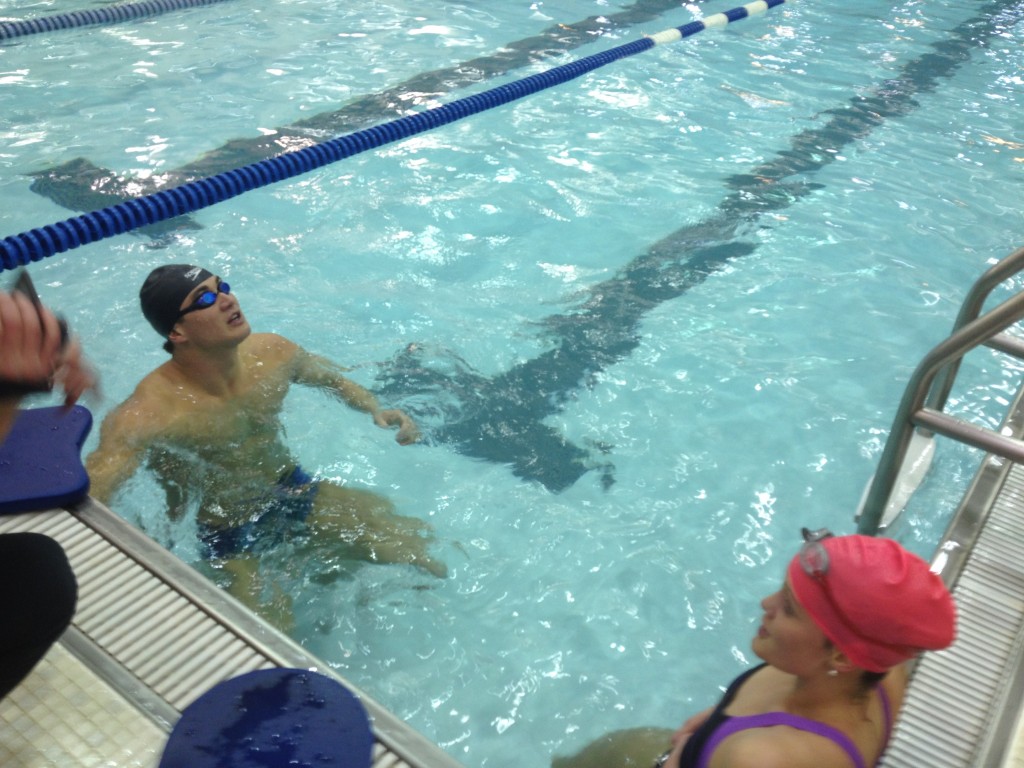
040The plan for the event, sponsored by the REFUEL with Chocolate Milk team, was for me and Amy to participate in Nathan’s drills while receiving coaching from he and his coach and learning more about his training and fueling habits as he prepares for the  2012 London Olympics.


I was very open and honest at the beginning, making it clear to Nathan and his coach, Nick Folker, that I had very little experience in the pool and hadn’t swam in a few months. They laughed and said that if I could run marathons I could keep up. While his confidence was a bit of an exaggeration, I was amazed with how long I lasted. We did multiple drills after the warm-up laps including kicking and pulling drills, speed, and the super tough sculling drill.
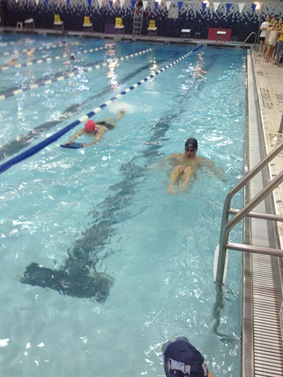
017 Both Nathan and his coach stressed to me the importance of reaching with my arms, as far in front of me as possible, to help propel me through the water as efficiently as possible. In addition, no surprise, but they recommended that practicing.


Nick believes that swimming could replace my recovery run during marathon training, or take place on the same day, to help loosen up my muscles and release tension. In fact, there is a forum on Runner’s World dedicated to swimming as part of cross training during marathon training. Many runners say that it helps build lung capacity, massage and loosens muscle, strengthens core muscles, and reduces injuries.
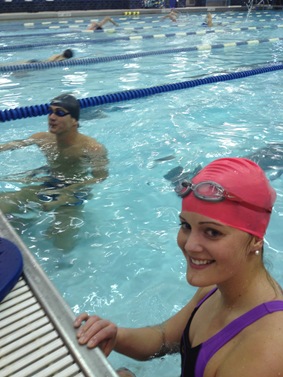
018 Don’t let that smile fool you. I was panting quite hard at this point after our second round of sprints, having been lapped by both Nathan and Amy. Oh wait, did I mention that the other blogger who joined me happens to be a distance swimmer who has completed an Olympic Distance tri in 2:25 and completed a 3:46 NYC Marathon. Yes, I was out of my league.


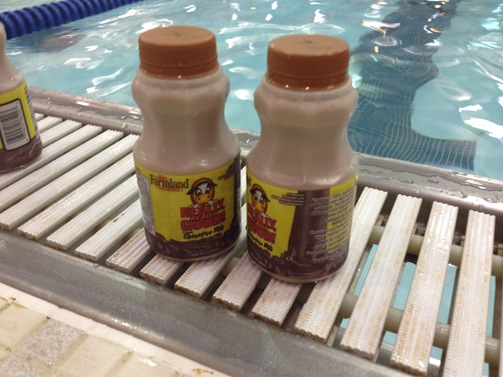
But, Nathan and Amy were great cheerleaders and we had a blast talking about his experiences balancing college (he graduates from UC Berkley this Spring), training for the Olympics, and a personal life. In addition, he was more than willing to talk about his training plan which includes many two a day workouts which can add up to 6 hours per day and refuels with chocolate milk, in and out of the pool.

Nick, who is currently not only Nathan’s coach but also the USA Swimming Trainer and Director at UC Berkley, shared a few RECOVERY tips so that next time I won’t feel quite as exhausted after a tough workout and my body won’t feel it the next day.

037

  • Be sure to replenish your body within 20 minutes to 2 hour recovery window with electrolytes, protein, and carbohydrates.  My favorite way to do this is though chugging chocolate milk since it has all the carbs, electorlytes, and protein my body needs.
  • Exercises like yoga, and swimming are important for muscle recovery so your body can replenish energy stores and repair damaged tissues. Make sure the activity isn’t too vigorous.
  • Be sure to include the following in your activity: cool down, stretch, foam roll, ice, and massage as needed.

Thanks to the REFUEL with Chocolate Milk team for this opportunity and for inspiring me to get back in the pool. Now what NYC friend is going to ensure I get back in the pool each week?

Question: Swimmer or not? If you are a swimmer what are some tips to improve? Do you use it as cross training?

Share Button
Follow:

How to Plan for Ragnar or Another 24 Hour Relay Race

This week’s guest post isn’t about marathon running but instead about relays. Later today, I’ll share why this information is going to be vital for myself and 11 other crazy ladies in the next few months. But, for now I’ll leave you with Chrissy, the coolest bridesmaid I’ve ever had the chance to meet. It’s almost year since we first met and we still talk daily on GChat about upcoming races and workouts! Enjoy!

Hello!  I’m Chrissy from Tucson, Arizona and I’ve been inspired by Ashley to start blogging at TriGeekess.  I am a former college swimmer who now competes in Triathlon – which means I’ve just picked up running and cycling over the past 2-3 years and am very much in my learning phase of these sports.  Last year, I raced in my first Ragnar Relay in Washington state.  I had a great team with a few Ragnar veterans that made our team’s organization go incredibly smoothly.  One of those veterans, my husband Eric, had run 2 Ragnars the year before.  Ashley asked me to share my experience and tips so that you all could get the low down on Ragnar Relay and what it’s all about.

Why A 24 Hour Relay?
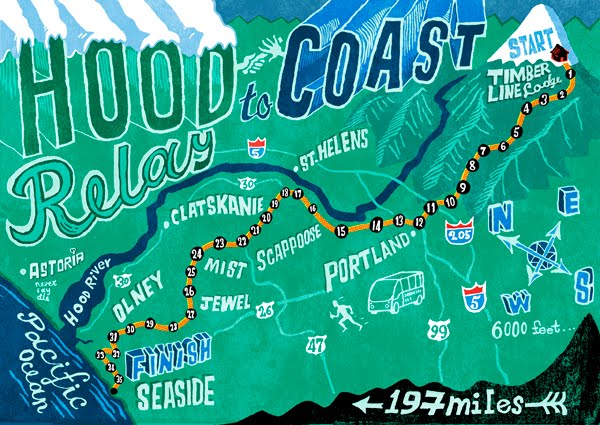
Maybe you’ve heard a friend talking about Ragnar Relay before, and maybe not.  Ragnar is the widest-known relay race organizer, but there are others like Hood to Coast, Reach the Beach or Bourbon Chase.

Basically, you get together a team of 12 runners in 2 vans and run approximately 200 miles from point A to point B.  Each runner runs 3 times (3-10 miles each) and totals between 11 and 26 miles throughout the race, which typically takes about 20-24 hours.  What I love most about a race like Ragnar is the camaraderie.  Spend 24 hours straight with anyone and you are sure to bond on a whole new level.  Add in running 200 miles together, and you’ve achieved something you can be proud of on this little road trip called Ragnar Relay.  Each time I ran, I experienced all the adrenaline I love about racing, but none of the pressure.  This led to some pretty fast runs for me when it wasn’t even the focus of the event.  The focus is truly to have a good time and experience a race that is more about “the journey” than any other I have experienced. 

So, combining my experience with my friends’ experiences with a relay, I give you…

A Type “A” Girl’s Guide to Planning for a Relay

So you’ve decided you want to do Ragnar or another similar relay.  First, of course, you want to choose which of these crazy relays.  Maybe it’s near your home, or maybe it’s a vacation destination that will break your winter blues (Florida Keys in January or Phoenix in February, anyone?) or get you through a hot summer (Washington state in July or Minnesota in August).  Either way, first you gotta choose your race…and then you can follow this schedule.

4-6 months before:
Reserve 2 vans at your location as soon as possible.  Every other team needs 2 vans, too, so it’s important to do this first.  You can always cancel the reservation.  We used 12 passenger vans, which sounds like overkill, but the 6 people in the van need to carry their belongings, a cooler of food and finagle sleeping arrangements in this vehicle.  You’ll be thankful for the space for not much more cost than a 10 passenger van.
The biggest hurdle to get over is finding 12 fun-loving friends who either run or will be able to run in time for the race.  We like to invite everyone we know who runs.  You can even invite people who live in different cities, because this event has enough draw to get your long distance pals on a plane.  The good news is that no matter who you invite, they already have something in common – running!
Tell your potential teammates to send you (the organizer) a check to secure their spot.  The first 12 people to have their money in are on your team…the other 5-10 people you’ve invited are now in “reserve”.  Since you are planning 6 months out, someone on your team is bound to drop because of work, family, or lack of training.  Having a few people with your race on their radar will save you later.  Ask for enough money to cover the vans and the race registration.  Later, you’ll only need to collect money for food and gas (and possibly hotels).


Once you have most of your team committed, log on to the site and register your team for your desired location – you choose your team name at this point.  So it may be good to enlist some of your creative friends to think of a name.  

3 months before:
This is a good time to draw your team’s attention to the training plan right on the Ragnar website.  It looks almost identical to a half marathon training plan with a few two-a-days to get you accustomed to running on tired legs.  If some of your not-so-dedicated runners see the plan, they may kick up their running, or they may drop off your team allowing you plenty of time to check in with your “reserve” team to enlist new team members.
If you plan on printing a shirt for your team, it’s time to start thinking about finding a printer and pricing out shirts.  Our team bought men’s and women’s tech shirts with one color on front and back for just under $20 apiece.  Work on a design with your team and submit it to the printer with plenty of time for them to work up some artwork for you.

6-8 weeks before:
Hopefully your team is solid by now.  If not, it’s time to get all those “maybe”s to commit or admit defeat so you can fill those spots.  In 2010 at the Las Vegas Ragnar, my husband’s van ran with only 5 runners.  This meant that 3 people in that van ran 4 legs of the race.  

4 weeks before:

You can assign who is running which legs when whenever you like, but you are likely to change it in the last month, so I would just do it then.  The legs are updated about 4 weeks before the race, so the distances will be more exact than the earlier revisions. 

If you are planning on staying in a hotel the night before or the nights after the race, do it now.

1-2 weeks before:

Ragnar is big on safety, and for good reason.  They’ve got thousands of runners running along roads that do not normally have runners at all hours of the day and night.  They require each person to show their headlamp, butt lamp and a reflective vest (my favorite) at team check in, and your team can get disqualified for not following safety rules.  They release a “Safety Bible” about 2 weeks before the race so your team can familiarize itself with the rules of the course.  You are required to print two for your vans, so print them out now.  Assign one of your team members to browse the Bible and highlight the important items during a team meeting.  During this same meeting you can assign team members to be in charge of different things.  We had a “treasurer” for each van, someone assigned to printing out runner leg directions and contact phone numbers onto laminated business cards, and someone in charge of a first aid kit.   We also got each runner’s phone number and emergency contact information into the binder with our Safety Bible. 

I hope this post helps demystify relay racing.  I’ll be doing my next relay race from LA to San Diego in April with Ragnar Relay and I couldn’t be more excited to do it again.  I hope you try it out and love it too!


If you have any questions for Chrissy, leave them in the comments as she’d be more than happy to answer or even right a follow up post!

Share Button
Follow:

Mexican Quinoa

Every Sunday, as I read other blogs, I am inspired to cook. I know that I’ll enjoy and benefit from having a few staples prepared in the refrigerator, but most Sundays, I never make my way into the kitchen.

Yesterday, feeling surprisingly energetic after an epic birthday party the night before, Bo and I found ourselves organizing the house from top to bottom. This was serious stuff folks. I was under the bed fighting dust bunnies and Bo was trying to organize our pantry for the hundredth time. By 4pm we had tackled the house and were actually able to sit back and relax for a bit. Then Bo mentioned the pile.

“Ashley, I’ve made a pile of all the things in the pantry I doubt you’ll ever use or duplicates. Can you go through it and throw what you don’t want out? “

I groaned and walked over, amazed at what he considered to be trash. While I salvaged some things, I did end up parting ways with a few age old tea bags and expired products. But then I saw my afternoon inspiration: three bags of quinoa. How we accumulated such a collection I’ll never know. Maybe I read this post ages ago and felt inspired to buy it? Or, maybe it was on sale at Whole Foods one week and knowing it was a protein and fiber rich grain powerhouse, I was enticed to buy it.

The important thing is that the lonely boxes inspired me to create my own recipe. I opened up our fridge to see what I could use and decided that a Mexican quinoa would be the perfect way to spice up my weekday lunches. After all, my friends at Choose Cherries gave me this adorable lunch box that was just screaming to be used.

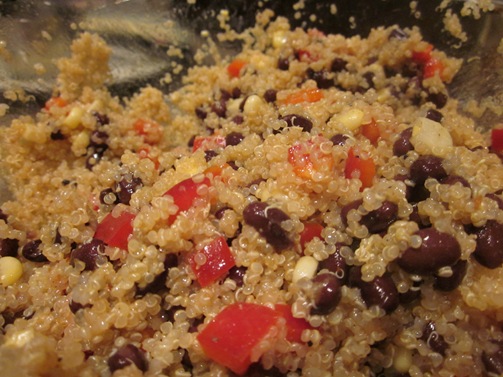
001 So, without further adieu, I give you my Mexican quinoa recipe. I enjoyed it today atop a bed of baby spinach for lunch and the flavors amazed me. This is definitely one of those dishes that gets better the next day and can last all week. Bulked up with vegetables and protein, this recipe makes four very hearty servings that are filled with healthy nutrients, vitamins, and no artificial additives. Even the dressing I used, a Whole Foods staple of ours, is all natural!

004 005 007 009 011 013

Mexican Quinoa

Prep Time: 10 minutes

Cook Time: 15 minutes

Ingredients (4 servings)

  • 1 cup quinoa
  • 1 15.5 oz black beans, rinsed
  • 1. 15.5 can corn, drained
  • 1 red pepper, diced
  • 1 yellow pepper, diced
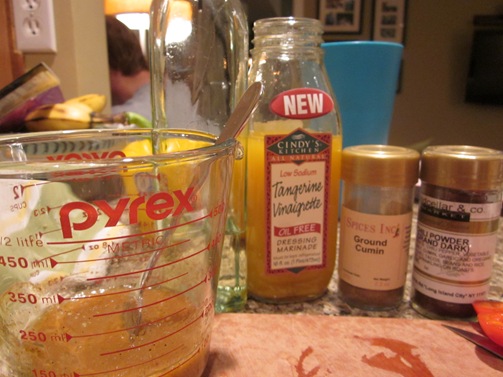
  • 1/2 cup Cindy’s Kitchen All Natural Tangerine Vinaigrette (available at Whole Foods)
  • 1 Tbsp olive oil
  • 1 Tbsp chili powder
  • 2 Tbsp cumin
  • Dash of salt & pepper
  • Optional: diced avocado and/or chopped cilantro

Instructions

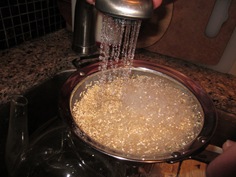
Rinse 1 cup quinoa with water.

Combine quinoa with 1 1/2 cups water in saucepan.

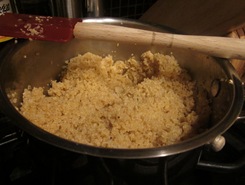
Bring to a rapid boil. Reduce heat and simmer, covered, 10 to 15 minutes until all water is absorbed and quinoa is tender. Make sure that quinoa doesn’t burn by stirring once or twice during the simmering process.

Remove quinoa from the heat and let stand for 5 minutes.

Pour quinoa into a large bowl.

Add beans, corn, and peppers.

Stir together.

In a separate bowl, whisk dressing, spices, salt, pepper, and oil together.

Pour over quinoa and vegetable mixture.

Stir until thoroughly combined, ensuring that even the bottom quinoa is coated.

Serve chilled and garnish with optional avocado or cilantro.

Share Button
Follow: