Easing Back into Weights

It’s Tuesday night and I made it home in time to do some light cleaning around the apartment, catch up with a good friend via phone, and make dinner. What a perfect end to a great day.

001 (640x426)004 (640x426)003 (640x426)

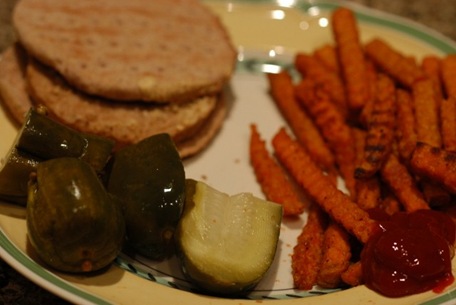
If you’ve never tried Alexia Sweet Potato fries I suggest you pick them up the next time you’re in the freezer section of your grocery store.

This morning was my first time returning to the weight room post marathon. Last week, my personal trainer spent our one session just stretching me and helping my body limber up again. Today however was back to the grind. We spent the time completing a measurement session and then a diagnostic session to see where the marathon left my muscles. The month leading up to the marathon we started to cut back the heavy weights so my muscles wouldn’t be sore for my runs. Instead of using heavy weights during our session Lauren focused on body weight movements and dynamic training.

Since our last measurement session back in September, I lost inches in my triceps and abdomen and had lost four pounds! I can share the specific measurement timeline tomorrow when I have all the data but I was excited to see that our work paid off, even without the heavy weights.

IMG_0801

I learned the importance of easing back into weights during today’s session. After an amazing warm-up run on the treadmill I was feeling especially excited about pumping some iron. After our first set of squats I asked her to “pile on the weight” because I felt strong. Luckily Lauren knows how important it is to ease back into weights because our heaviest weight today, still 15 pounds lighter than what I was squatting back in early October, left my hamstrings screaming. In fact, if Lauren hadn’t been there, I could have easily torn or pulled something.  I’m going to spend time foam rolling and stretching this evening so I’m ready for my run tomorrow morning.

Last but not least, I’m starting to get excited about training for a few half marathons this Spring. While I’ve already signed up for the Rock and Roll Half in Washington, DC I’m still considering a few others such as the Manhattan Half, Nike Virtual Half, and Flying Pig Half Marathon in Cincinnati.

If you’re a runner, what is your favorite half marathon and why?

image

Also, check out these two great blog posts both of which are incredibly inspirational in their own way: Dori’s Surprise Marathon and 52.4 in 48 hours!


Share Button
Follow:

Pump It Up Playlist

Over the past two weeks I’ve given my workout playlist quite a face lift thanks to everyone’s marathon playlist recommendations and iTunes. I realized this morning, as I was rocking out to my favorite Foster the People song during my 3 mile run, that I never shared the playlist with y’all.

I can’t thank you enough for all the suggestions as I’m really loving each and every one of these songs right now!  I hope you enjoy some of this four hour playlist as much as I do.

image image I’ll be back later with an update from my first personal training session post marathon. It was a surprising and eye opening session for sure! Have a great Tuesday!

Share Button
Follow:

Cake Baking Tips and Tricks


While I do know how to bake, I do not claim to be an expert or even an advanced baker. Like many, I dreamed of owning my first Kitchen Aid mixer which we so wonderfully received as a wedding gift. But, since then, in an effort to reduce my waistline, the mixer has not received much love and attention. Copy of 030

This weekend though, I had one thing on my to do list that I wanted to accomplish while Meg and Spencer were in New York City. Meg and her sister are amazing bakers and I wanted a 1:1 baking lesson with Meg!

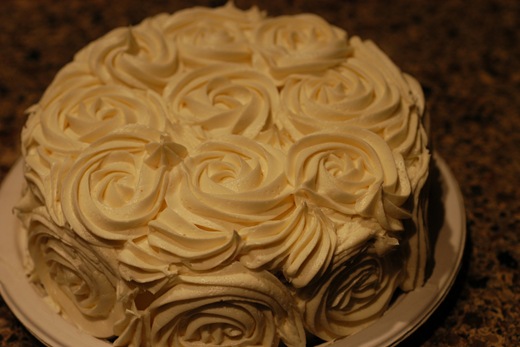
She allowed me to choose the bake good of choice and then helped me create the beautiful masterpiece from scratch. Along the way, she pointed out some tips and tricks that I wanted to share with each of you!

1. Don’t throw your butter wrapper away just yet! After you add the butter to your mixing bowl, you can use the wrapper to easily grease the sides and bottom of your pans. This will keep the batter from sticking, even on non-stick, and also help the wax paper in your next tip stay in place.

Copy (3) of 003 2. Use wax paper to ensure your cake doesn’t stick to the bottom of your pans.  Due to my brand new non-stick pans, I haven’t had an issue with cakes sticking lately. But, many people often fear the flip at the end of the process due to the fact that sometimes almost half the cake remains in the pan. In order to prevent this, merely place a wax paper circle in the bottom.

Copy (3) of 004 Copy (2) of 005 You can measure the circle in one of two ways, trace it with a pencil and then cut inside the outline or use the geometric triangle method as seen in the above picture.

3. Ice the plate first! This is going to sound silly, but before placing your cake onto the cake dish or paper plate, place a dollop of icing on the plate. This will serve as glue and help keep the cake from sliding.

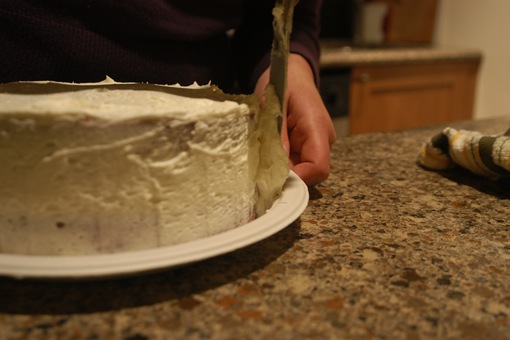
Copy of 023 4. What is a crumb coat? Crumb coating ensures that your visible icing is picture perfect versus having unsightly crumbs in the mix. It serves as a thin coat, holding everything perfectly in place, similar to a base when using using makeup. A crumb coat is most important when icing red velvet or chocolate cakes with a white or light colored frosting. The crumb coat only took a quick five minutes to do but made a huge difference in our final product. For more information on how to crumb coat, see this link.

Copy of 025Copy of 040

Question: My sweet friend Meg has offered to do a few baking guest posts. Do you have any baking questions you’d like her to answer?

Share Button
Follow: