While I do know how to bake, I do not claim to be an expert or even an advanced baker. Like many, I dreamed of owning my first Kitchen Aid mixer which we so wonderfully received as a wedding gift. But, since then, in an effort to reduce my waistline, the mixer has not received much love and attention. 
This weekend though, I had one thing on my to do list that I wanted to accomplish while Meg and Spencer were in New York City. Meg and her sister are amazing bakers and I wanted a 1:1 baking lesson with Meg!
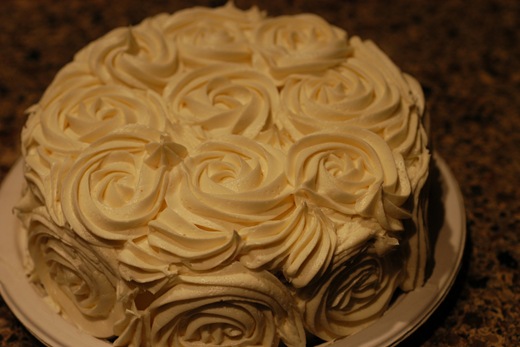
She allowed me to choose the bake good of choice and then helped me create the beautiful masterpiece from scratch. Along the way, she pointed out some tips and tricks that I wanted to share with each of you!
1. Don’t throw your butter wrapper away just yet! After you add the butter to your mixing bowl, you can use the wrapper to easily grease the sides and bottom of your pans. This will keep the batter from sticking, even on non-stick, and also help the wax paper in your next tip stay in place.
 2. Use wax paper to ensure your cake doesn’t stick to the bottom of your pans. Due to my brand new non-stick pans, I haven’t had an issue with cakes sticking lately. But, many people often fear the flip at the end of the process due to the fact that sometimes almost half the cake remains in the pan. In order to prevent this, merely place a wax paper circle in the bottom.

 You can measure the circle in one of two ways, trace it with a pencil and then cut inside the outline or use the geometric triangle method as seen in the above picture.
3. Ice the plate first! This is going to sound silly, but before placing your cake onto the cake dish or paper plate, place a dollop of icing on the plate. This will serve as glue and help keep the cake from sliding.
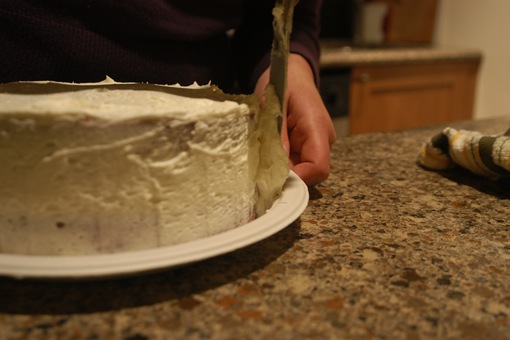
 4. What is a crumb coat? Crumb coating ensures that your visible icing is picture perfect versus having unsightly crumbs in the mix. It serves as a thin coat, holding everything perfectly in place, similar to a base when using using makeup. A crumb coat is most important when icing red velvet or chocolate cakes with a white or light colored frosting. The crumb coat only took a quick five minutes to do but made a huge difference in our final product. For more information on how to crumb coat, see this link.
Question: My sweet friend Meg has offered to do a few baking guest posts. Do you have any baking questions you’d like her to answer?


